Some notes on imaging techniques
Cameras telescopes and field of view
Use Cartes du Ciel Setup/Display
Atik 314+ CCD camera with Sony ICX285AL ExView 1392 x 1040 sensor with 6.45µm pixels. 12V, 0.8A
ZWO ASI 183MM Pro: 13.2mm x 8.8mm, 15.86mm diagonal, 5496 x 3672 x 2.4μm pixels . Back illuminated, high sensitivity.
LX200 at f6.3 or 1900mm focal length 23.7 x 15.8 arcmin
Skywatcher at f6.25 or 500mm focal length 91 x 61 arcmin
Seestar S30. IMX662, 1080 x 1920 x 2.9 μm pixels. 150mm focal length. 3.99 arcsec/pixel
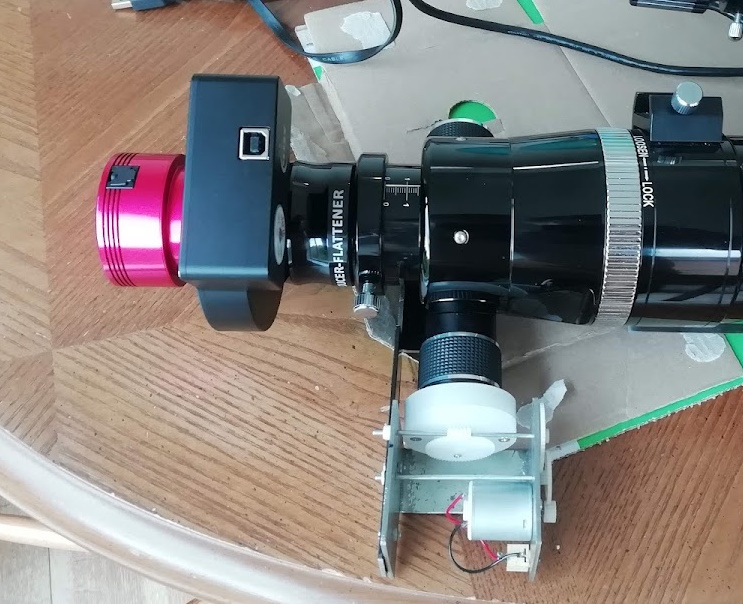
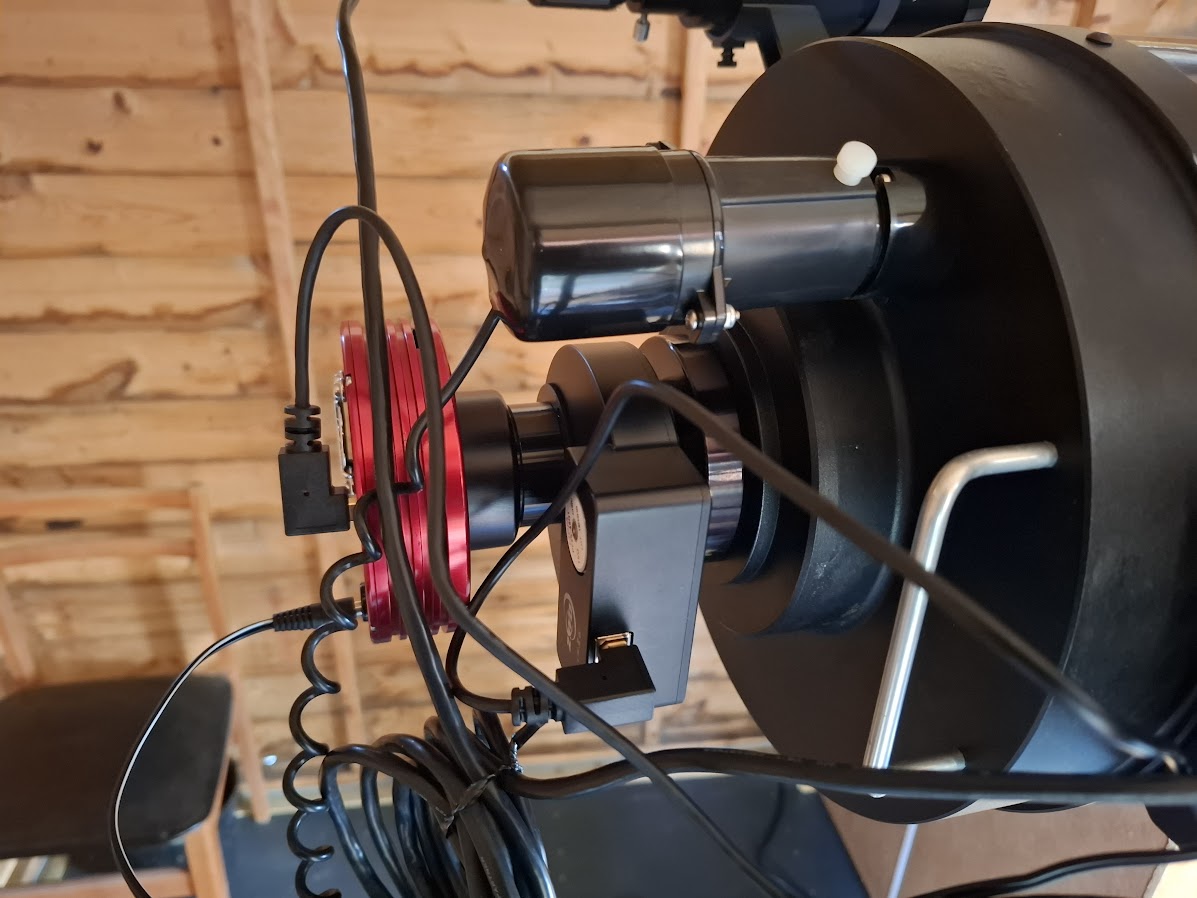
Skywatcher 80ED
- 500mm focal length f6.25.
- No reducer and ASI 183MM 90.6×60.6 arcmin, focusser at 5.3, Meade T adapter, filter wheel, T-T adapter, camera. 3.96 arcsec pixel at bin 4×4
- Atik 3145+ No reducer FOV 62′ x 46′ at 2.66 arcsec/pixel.
- With Altair Lightwave 0.6x focal reducer hence 300mm focal length f3.75 image scale 4.31 arcsec/pixel and FOV=1.66×1.24 degrees or 100′ x 74′
- For time of meridian flip on Ioptron IEQ45 see culmination time in Cartes du Ciel
- Set up for Moon or Sun with 0.6x focal reducer to just fit entire disk on ZWO ASI290MM chip. Remove nose piece from camera and use T adapter. Might benefit from IR pass filter but need filter wheel then

10″ LX200 classic
- 2500mm focal length f10 and ZWO mini EFW 12.1 x 9.02 arcmin at 0.521 arcsec/pixel
- With 0.63 reducer and ZWO mini EFW 15.9 x 11.9 arcmin at 0.685 arcsec/pixel (1941mm EFL)
- With 0.33 reducer and ZWO mini EFW FOV=38.9×29.1 arcmin and 1.68 arcsec / pixel (793mm EFL)
Orion Mini 50mm Guide Scope
d=50mm, f=3.2, fl=162mm finder and DBK camera 6.56″/pixel and 70’x52.5′ Settings gamma=140, brightness=0, gain=700
- Skyris 445M, Sony ICX445ALA, 1280×960, 6.26mm x 5.01mm, 3.75 micron
- Skyris 618M, Sony ICX618ALA, 640×480, 4.46mm x 3.80mm, 5.6 micron
- Imaging Source DBK 21AU04.AS, Sony ICX098BQ , 640×480, 4.6mm x 3.97mm, 5.6 micron
- ZWO ASI290MM, Sony IMX290, 1936×1096, 5.6×3.2mm, 2.9 micron
Kendrick dew heaters. 2006 2″ at 0.3A, 2008 4″ at 0.9A, 2013 11″ at 2.3A. Total 3.5A
Canon 450D
- At 55mm. 24.2×16.1 degrees and 20.4 arcsec/pixel.
Deep Sky Stacker
Procedure to get registered pictures form all channels prior top processing
- Load all images from all channels
- Right click one image and select it as the reference
- Check all pictures
- Register all checked pictures but do not automatically stack after registering
- Uncheck all
- Check images of just one channel and stack checked pictures
- Save picture with name registeredOIII or similar
- Repeat from (5) for other channels
Astrotortilla
Procedure to image the same subject on multiple nights
- In AstroTortilla solve the previous night’s image and note the rotation
- Save the result as a bookmark
- Goto the focus star and solve/slew and sync unti it is central
- Note the rotation of any solution you get in this process and rotate to get the same rotation as the earlier data. Clockwise reduces the rotation angle.
- Goto the target again (NGC6995 is in the Caldwell list in EQTour)
- Load the bookmark and the scope should slew to the exact position as before
Solar images and paint.net
- Drag disk as image
- Drag disk as layer
- Drag prominence as layer 3
- Bring layer 2 disk to top and invert its colours then typically adjust curves for low gamma then adjust brightness / contrast to make it black and white. Usually maximum contrast and adjust brightness to maximise disk area but just avoid bringing prominences into play. Aim is white sky and black disk.
- Add gaussian blur to inverted disk say radius 6.
- Put layer 2 disk mask to middle layer again
- Set properties for prominence to multiply. This multiplies the prominence of the prominence image by 1 and the disk part by 0
- Merge layer down to carry out the multiplication
- Set properties to add. This adds the disk to the prominence. Final alignment with arrow keys.
- Align prominence with disk. Note if the cursor is placed near a corner you can also rotate
- Merge layer down
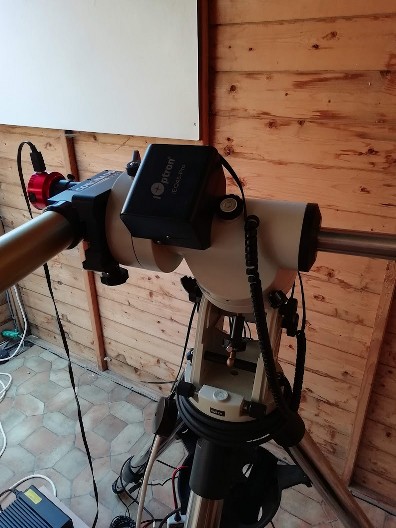
- This arrangement for the Sun. Declination cable must wrap round like this else it jams in RA bolts
Winjupos and Jupiter RGB de-rotation
- Run the program and select Program/celestial body/Jupiter
- Select Recording/image measurement
- Enter the observatory co-ordinates.
- Open first image (f7). If Fire Capture was used then it is possible to get it to code the date in the image name so that it doesn’t need to be entered now otherwise and enter the UT time at the middle of the capture.
- Adj/outline frame/automatic detection (f11)
- If the N symbol is incorrect (the GRS is in the southern hemisphere) press backspace
- Move the automatic ellipse so that the disk is central (there will probably be a noticeable gap at one side after the automatic fit). Use the arrow keys, N clockwise, P anti-clockwise, PgUp/PgDn in/decrease size
- Imag/save. Save the image information file (f2) with a suitable name.
- Repeat the load (f7), ellipse fit (f11), manual adjustment and save (f2) for all the other images
- Tools/Derotation of RGB images
- Edit/add and find all the image information files (*.ims) that you save.
- Press compile image (f12). Results images as below should appear